Outback Tracker
For this challenge I built the Pathfinder 1 base in the Cunstructopedia, then I added two touch sensors to the front, and wheels. I then downloaded the program to it and it worked perfectly. | 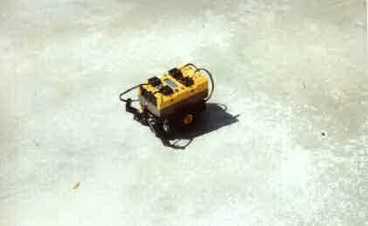 |
Light Tracker
In this challenge I used the pathfinder 1 base, made a few changes to it, then added a light sensor with a black brick shade to keep out other light . I then downloaded the program and it worked without any glitches. |
 |
Trail Tracker
For this challenge I gathered as much information as I could off the Mindstorms CD. Then I reviewed some of my past robots, in particular the ones with light sensors, which is not exactly my favorite sensor. I then flipped through the Cunstructopedia looking for sensor ideas I finally decided on one. Then I went back to the Cunstructopedia looking from a base, I decided on and assembled the base one pathfinder robot. I then added two short rods and a connector to each of the motors, large wheels. From the Mindstorms box I gathered the light sensor, and an angle piece. I then assembled them with the light sensor pointing down. I then the light sensor in a nook on the front of the trail talker between the RCX and its frame. After I hooked up the wires for the motor and the light sensor I went to the challenge's example program, and downloaded it to the RCX. After placing the track talker on the test pad I let it roam. The robot would go too fast to always recognize where the line was, and its turns seemed to be backwards. I then explored the program and turned down the speed and took out one of the reverse motors blocks I then again downloaded the new and revised, super heavy duty, program to the new trail tracker and it traveled a round the track without getting stuck, and without any glitches at all! |
 |
Track Talker
In this challenge I immediately began by getting as much information as I could off the Mindstorms CD. I then took a little while to also study the Cunstructopedia, lego's building guide book, for a base robot. I finally decided on the sturdy design of the pathfinder base one robot, one of my personal favorites. I then went back and looked at the requirements for the program, the track talker had to be able to, 1. Follow a trail with a light sensor 2. Move in any direction 3. BEEP! As it follows the trail 4. Not beep at a certain color. I then took out of my mindstorms supply box an angle piece and the light sensor, I put them on the trail talker in a small nook between the RCX and the base frame. After hooking the two motors and the light sensor up to the RCX. I then downloaded the challenge's base program to the trail talker, and set it loose on the test pad with a red brick, it suffice to... it didn't come even close to the requirements, needed it would lose the trail and the light sensor would not even see the red brick, because it was to high. I then moved the light sensor up a bit, and adjusted the program, it still did not work. I then changed what the light sensor was looking for and moved the light sensor down just a bit and found a small blue brick, it came closer than all the other tries but still didn't do it. I then moved the light sensor back into its original position and instead of using a brick a taped a small blue piece of paper down to the track. I once again revised the program and set it down on the track... and for once it made it I then retried it, and it worked again! |
Sorry no image! |
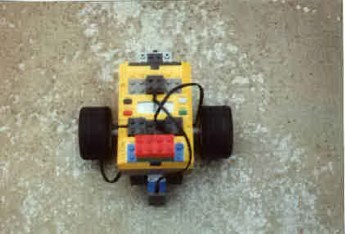
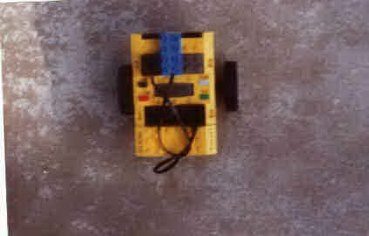
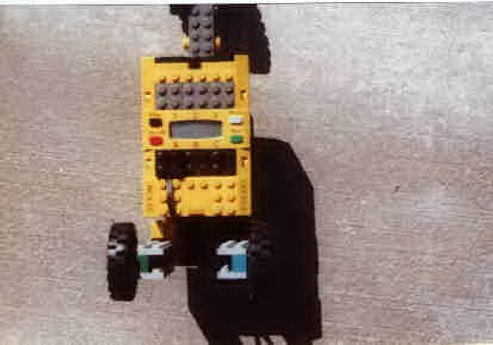
Mobo Robo
In this Challenge the building requirements were. 1. It needed only one motor 2. It needed to move forward and backwards 3. It needed to beep. After reviewing these I decided I would totally ignored the Cunstructopedia bases. I instead took the RCX and put four fifteen holed bars, two on each side on the bottom of the RCX. In the middle of these bars I put one motor with a medium sized gear on it, in between the bars. I then put a number twelve axle through the holes with a curved tooth gear on it, so it and the gear on the motor were locked together. I then put two large (acrobatic) wheels on the number twelve axle. At the back of the robot I put a small bar with a very small wheel on it. This completes the section on how I built the moborobo. I then reviewed the program requirements. 1. Move forward 12" in a straight line. 2. Move back to start position. 3. Beep 4. repeat three times in a row. I then downloaded there program to it and tested it on the test pad it worked perfectly! I tested it on there standard and I scored one hundred points. |

|
Robo Bumper
In this Challenge the building requirements were. 1. It needed only one motor 2. It needed to move forward and backwards 3. It needed to beep when it bumped into something. After reviewing these I decided I would totally ignored the Cunstructopedia bases. I instead took the RCX and put four fifteen holed bars, two on each side on the bottom of the RCX. In the middle of these bars I put one motor with a medium sized gear on it, in between the bars. I then put a number twelve axle through the holes with a curved tooth gear on it, so it and the gear on the motor were locked together. I then put two large (acrobatic) wheels on the number twelve axle. At the back of the robot I put a small bar with a very small wheel on it. On the bottom I placed a simple touch sensor on the bottom of the RCX. When I tried it out I found that it pointed to high up. I decided to change the wheels on the back after doing this it was at the right level. This completes the section on how I built the robo bumper. I then downloaded the program they had to the RCX and I found that it worked just great! I filled in the test sheet and found that I got one hundred points! |
 |
Robo Beep
For this challenge I first reviewed the building instructions 1. Needs one motor 2. Needs to be able to beep when it bumps into something, and turn away. I solved these problems by first starting with the Robo 2 base this base uses a special kind of gear called the differential. It enables a robot to turn using only one motor I built this base and then put the acrobatic wheels on the back. On the back I put a smaller wheel on an axle and set it up so it would pivot when the robot turned. I then made a platform on the front of the bot. To this I attached a simple touch sensor. I then started on the programing part of this challenge. The requirements were 1. Move forward and beep 2. Bump something... turn and pivot backward... and beep differently. I downloaded their program (after making a few changes) to Robo Beep and set it loose. I made a few changes to the front touch sensor so it was pointing more downward, and tested it again this time it worked perfectly. I filled in the test sheet and, again scored one hundred points again. I personally don't like using the differential because there is no assurance it will work, and when it does it is not powerful enough to run bigger robots. |
 |
Robioptic
This Challenge was a lot more difficult than the others because I do not do a lot with light sensors. When it was completed it was very rewarding. For this the building requirements were 1. Needs one motor 2. Moves forward 3. has a light sensor to SEE 4. Beeps when it SEES. I decided to make a simple base and to use it as a hard floor robot of my own design. I used two medium sized tractor wheels, for wheels. On the front I placed a triangular shaped board to use as a slider. On the front I simply placed, the light sensor. I then went and looked at the program requirements. 1. See your hand or a light from twelve inches away 2. Beep when it see your hand or a light 3. Move toward your hand or light. I downloaded their program to the robot and after much tweaking with the program, and the robot, I made it work. Then for fun I turned the program around so it would stop when it saw my hand, which is what I was using fro the signal. This was one of my favorite challenge's so far. |
 |
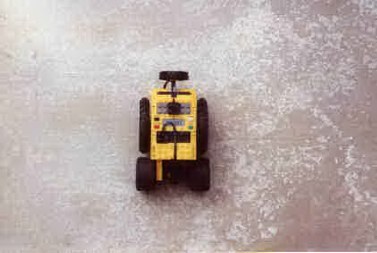
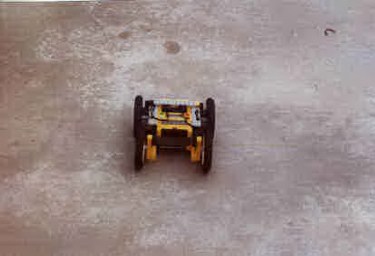
Acroflip
For this challenge The requirements for building were 1. Needs two motors 2. Moves fast 3. Flips on its back and keeps going. I built the acrobot base two from the Cunstructopedia and put the acroflip (big) wheels on it. Instead of cementing the motor in as much as they did, I did bit of a simpler job on it. I also the motor used longer cords than suggested so it was not exactly like there's. The programing requirements are 1. Moves forward fast about 12 inches 2. Flip on its back 3. keeps going. I then downloaded there program to acroflip. I found that here was not enough time for acroflip to gain enough speed to flip over and keep going. So I went and lengthened the time it had to gather its speed. Then it worked perfectly. Then when I was running it again my batteries ran out, so I couldn't do any more tests. |
 |
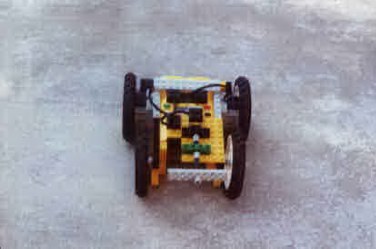
Acrobumper
For this Challenge's are the building requirements are 1. Needs two motors 2. Has a touch sensor 3. Flips over when it touches something and it keeps going. First I built the Acrobot two base. Then on the front I mounted my favorite simple touch sensor on a platform on the front. I then downloaded there sample program to it. The program requirements are 1. Move forward 2. Flip on its back and keep going 3. Continue till you stop the program. There program filled all of these requirements, but my robo was having trouble flipping over. So to find out what would happen I raised the front two wheels. Then when it hit a wall it would flip over with a little help from the touch sensor and motors. I then filled out the test sheet and scored one hundred points on each of the tests. I found this challenge rather difficult |
 |
Acroscanner
In this Challenge I built the acro base. It would fit the building requirements that were 1. Needs two motors 2. Beeps 3. Flips on its back when it SEES a certain color with its light sensor. After attaching my light sensor to Acroscanner. I placed my robot on the test pad in the correct place. Then I thought I was ready to download the program to Acroscanner. The program requirements were as follows 1. Recognize a certain color and beep! 2. flip on its back and go when it sees a color (mine was black) 3. Flip on its front again. It worked by pure chance, but filled all of the requirements. |
 |
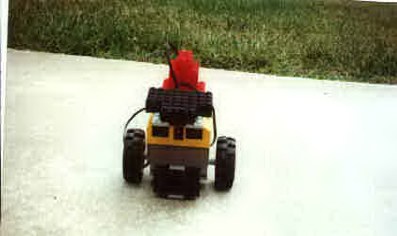
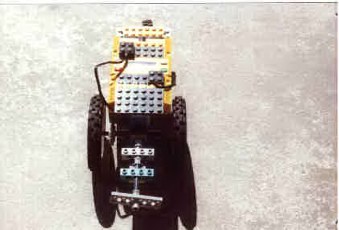
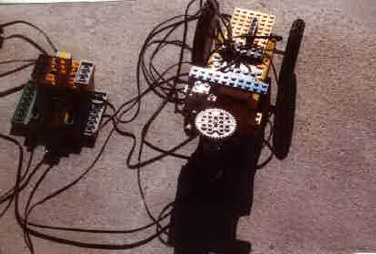
TriAcrobot
For this challenge I completely ignored the Cunstructopedia bases instead I made my own design by placing two motors on the back of the RCX, strapping them into place, and extending the motor shaft. On the shaft I placed the two huge acrobot wheels. On the front I placed two tractor wheels on one shaft and connected a vertical bar up two a large gear beside this I put a motor with a worm gear on it. I attached this object to the front of the bot. Then out of Jonathan B. Knudsun's book, The Unofficial Guide to Lego Mindstorms Robots, I built "A Remote Control for Minerva" and reprogrammed it so it would suite my purpose. Then I tested it and as it was finishing, the batteries went dead. It fit all the requirements though.
|  |